At-home STEM Activities: Pumpkin Pi

Image via Flickr Creative Commons/Steph Goralnick
Back in March, we talked a little about the history of pi and saw an interesting way to calculate the mathematical constant with Buffon’s Needle Problem. Today, let’s return to everyone’s favorite irrational number with an autumnal twist—using pumpkins to explore pi!
Cutting Pi
Materials:
Pumpkins of various sizes (or any other round objects)
String
Scissors
Instructions:
1. Wrap the string around on of the pumpkins and cut it so that its exactly as long as the pumpkin’s circumference.
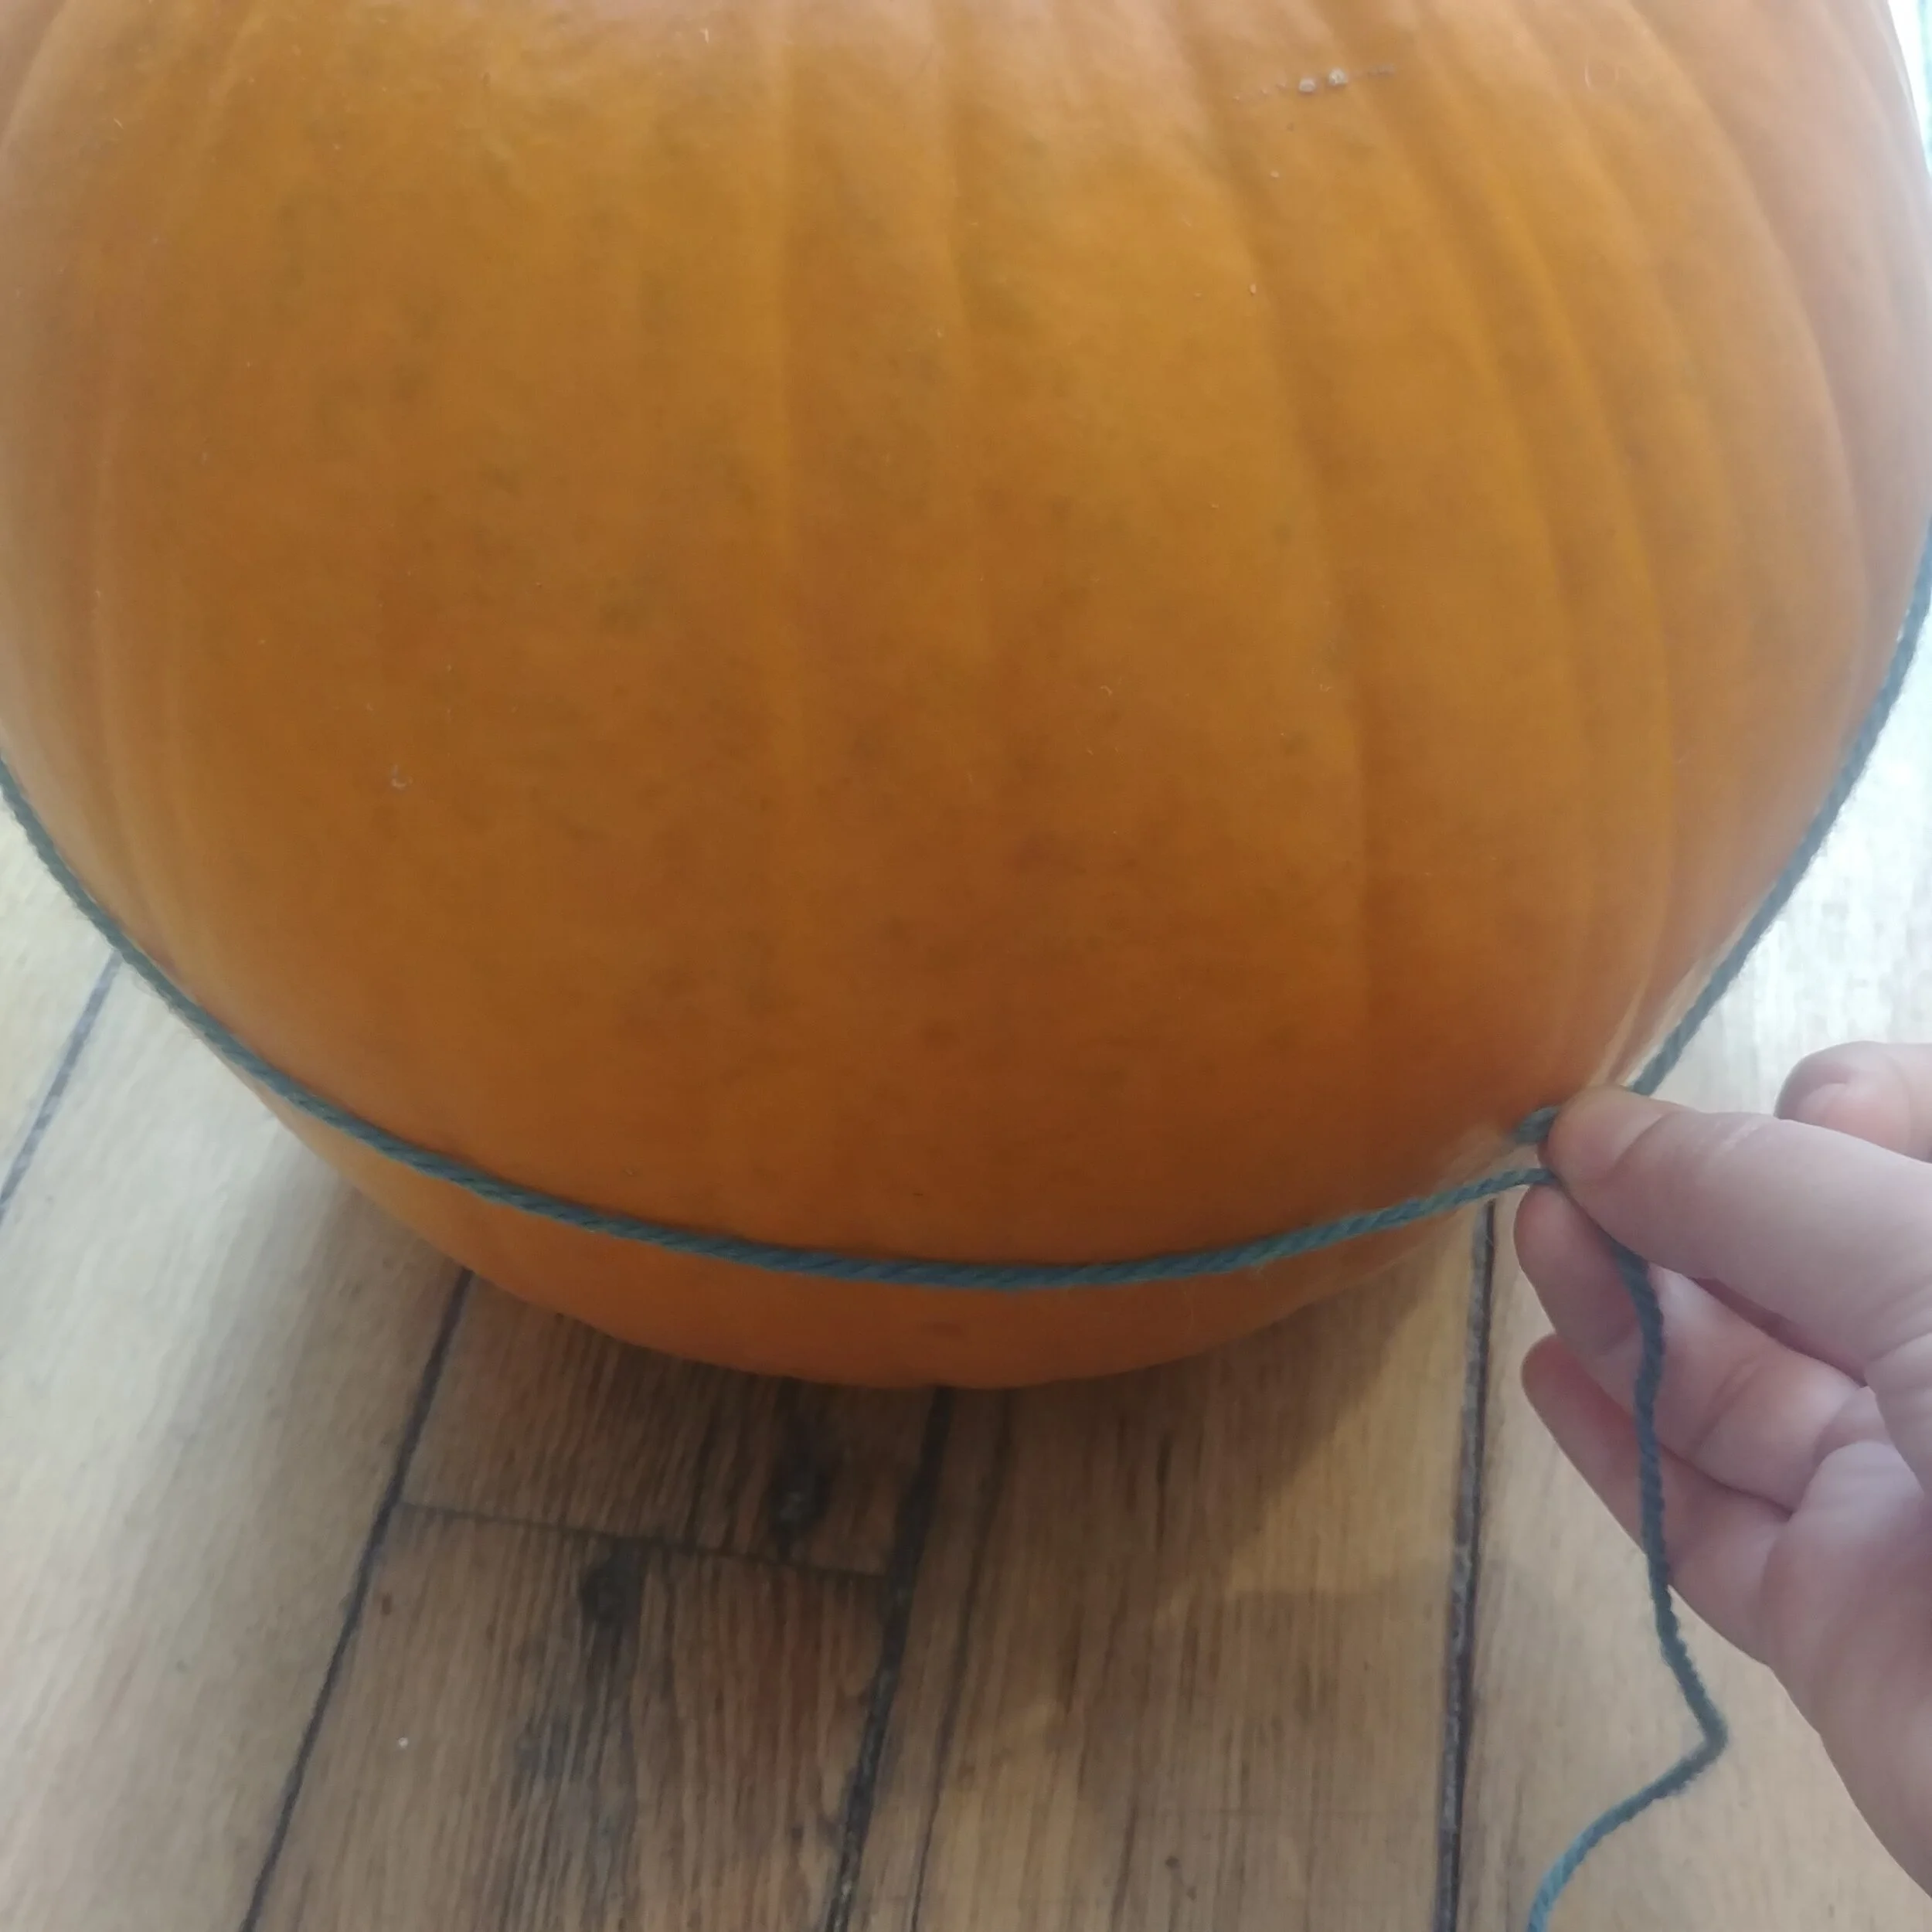
2. Now hold the string across the top of the pumpkin and trim the string to the length of the pumpkin’s width (diameter). Cut as many diameters as you can from the string.
This might be a little tough since the pumpkin isn’t a flat circle, but try your best to get as close as you can
3. Repeat this with your other pumpkins. What do you notice each time? What does this show you about pi? After doing some of your own thinking, scroll down for an analysis of our results!
.
.
.
.
.
.
What to Notice
With each pumpkin, the circumference-length string could be cut into 3 diameter-lengths plus a little extra. In each case, the “little extra” is about 1/7 of the length of the diameter, which together makes:
So about 3.14 diameter-length strings. That means:
And what is 3.14 approximately equal to? Pi!
The previous activity relied on a lot of approximations and eyeballing, so now let’s use some measurements to find pi a little more exactly.
Measuring Pi
Materials:
Pumpkins of various sizes (or any other round objects)
Tape measure
Paper
Pen or pencil
Calculator
Instructions:
1. Set up a chart like the one below:
2. Measure the circumference of each pumpkin, recording the measurements in your chart.
Measuring the circumference, or the distance around the middle of the pumpkin
3. Measure the diameter of each pumpkin, recording the measurement in your chart.
Measuring the diameter, or the distance across the pumpkin (or Canned pumpkin, in this case).
4. Using your calculator, divide the circumference by the diameter for each pumpkin. What do you notice? After doing some of your own thinking, scroll down for an analysis of our results!
.
.
.
.
.
.
What to Notice
Since we’re working with pumpkins, our results might be a little off as opposed to what they would be when doing this activity with flat circles (to take this activity further, do just that—redo the Measuring Pi activity with 2D circles and compare your results to this pumpkin activity!). However, for each pumpkin, when we divided the circumference by the diameter, we got a number that was pretty close to 3.14, an approximation for pi. Let’s see how close, on average, we got to pi in this measuring activity by finding the percent error.
First, find the average value of C ÷ d:
Now, using the average value of 3.198, let calculate the percent error:
So, on average, our measurements only had a 1.85% error when compared to the actual (approximate) value of pi. This error makes sense since pumpkins aren’t perfectly circular and our numbers may be a little off in measuring the diameters. But a 1.85% error means we were really close to the actual value, so it seems that it is true the pi = C ÷ d—thank goodness; no need to reassess how we’ve been calculating pi!