At-home STEM Activities: Fall Leaf Pigment Prints
Happy first week of fall, everyone!
Here in New England, autumn is a favorite season for many for a variety of reasons: the cool, crisp weather, the abundance of fall produce like apples and pumpkins (and the tasty treats made with those!), and the beautiful changing leaves. But with the changing of the seasons comes the question of why we see this change at all. So today, let’s explore why the leaves change color in the fall.
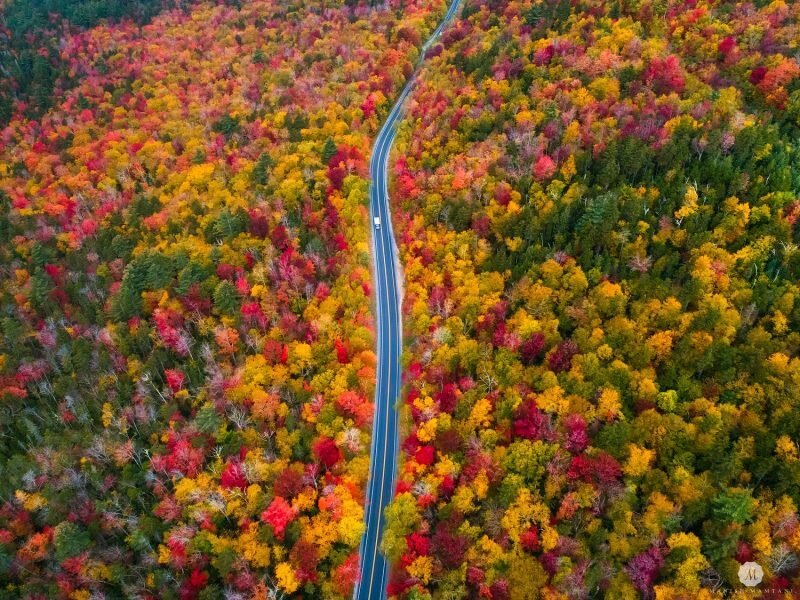
In this image of New Hampshire’s Kancamagus Highway, Notice the different colors in the trees—the colors range from deep reddish-purple to bright yellow
Image via Earthsky.org/Manish Mamtani
The types of trees that we see changing in the fall are called deciduous trees, which means they have leaves instead of needles. Deciduous trees use their leaves to make food and energy from sunlight.
New England experiences four seasons, so we have a hot summer, a cold winter, and a temperate fall and spring. In the summer, we receive a lot of sunlight, so trees are lush with green leaves to collect the light and turn it into food (a process called photosynthesis). But in the winter, when the days are short and the sunlight less intense, trees shed their leaves to conserve energy and water. What we’re seeing in the autumn, is the beginning of this process.

Diagram via leavingbio.net
Like we said above, through photosynthesis, trees turn sunlight into food. This process is made possible with a pigment in leaves called chlorophyll. Chlorophyll absorbs sunlight, and that energy initiates a chemical reaction, allowing the tree (or any other plants with green leaves) to turn carbon dioxide and water into carbohydrates, like sugar and starch, and oxygen. The tree uses the carbohydrates to continue to grow, but it doesn’t need the oxygen, so it releases that into the atmosphere.
Chlorophyll isn’t the only pigment in leaves, though. There are carotene, an orange to yellow pigment, and xanthophyll, a yellow to brown pigment. Both of these pigments aid in photosynthesis, but occur in lesser quantities than chlorophyll. That’s why in the summer trees have green leaves—they high amounts of green chlorophyll mask the orange carotene and yellow xanthophyll.
But in the fall, when trees are preparing for a season of low activity, the chlorophyll in leaves begins to go away. As the chlorophyll dissipates, the orange and yellow pigments start to show through. At the same time, the breakdown of the green pigment triggers other chemical reactions within the leaves, causing the bright oranges and deep purplish-reds of some trees. Here are a few different ways trees can be colored in the fall:

The Red Oak gets its name from the red of its leaves in autumn. Image via thetreecenter.com

New Hampshire’s state tree, the Paper Birch, has yellow fall foliage. Image via edu.glogster.com

The Sugar Maple displays distinctive bright orange leaves in the fall. Image via Arborday.org

The Sumac develops red anthocyanin pigments in the fall, giving its leaves a deep purple color . Image via Thespruce.com
These pigments are also strong enough to stain material, like a grass stain on a pair of pants. So that means we can use leaf pigments to help save some fall color throughout the year—let’s make fall leaf prints by pressing the color out of leaves!
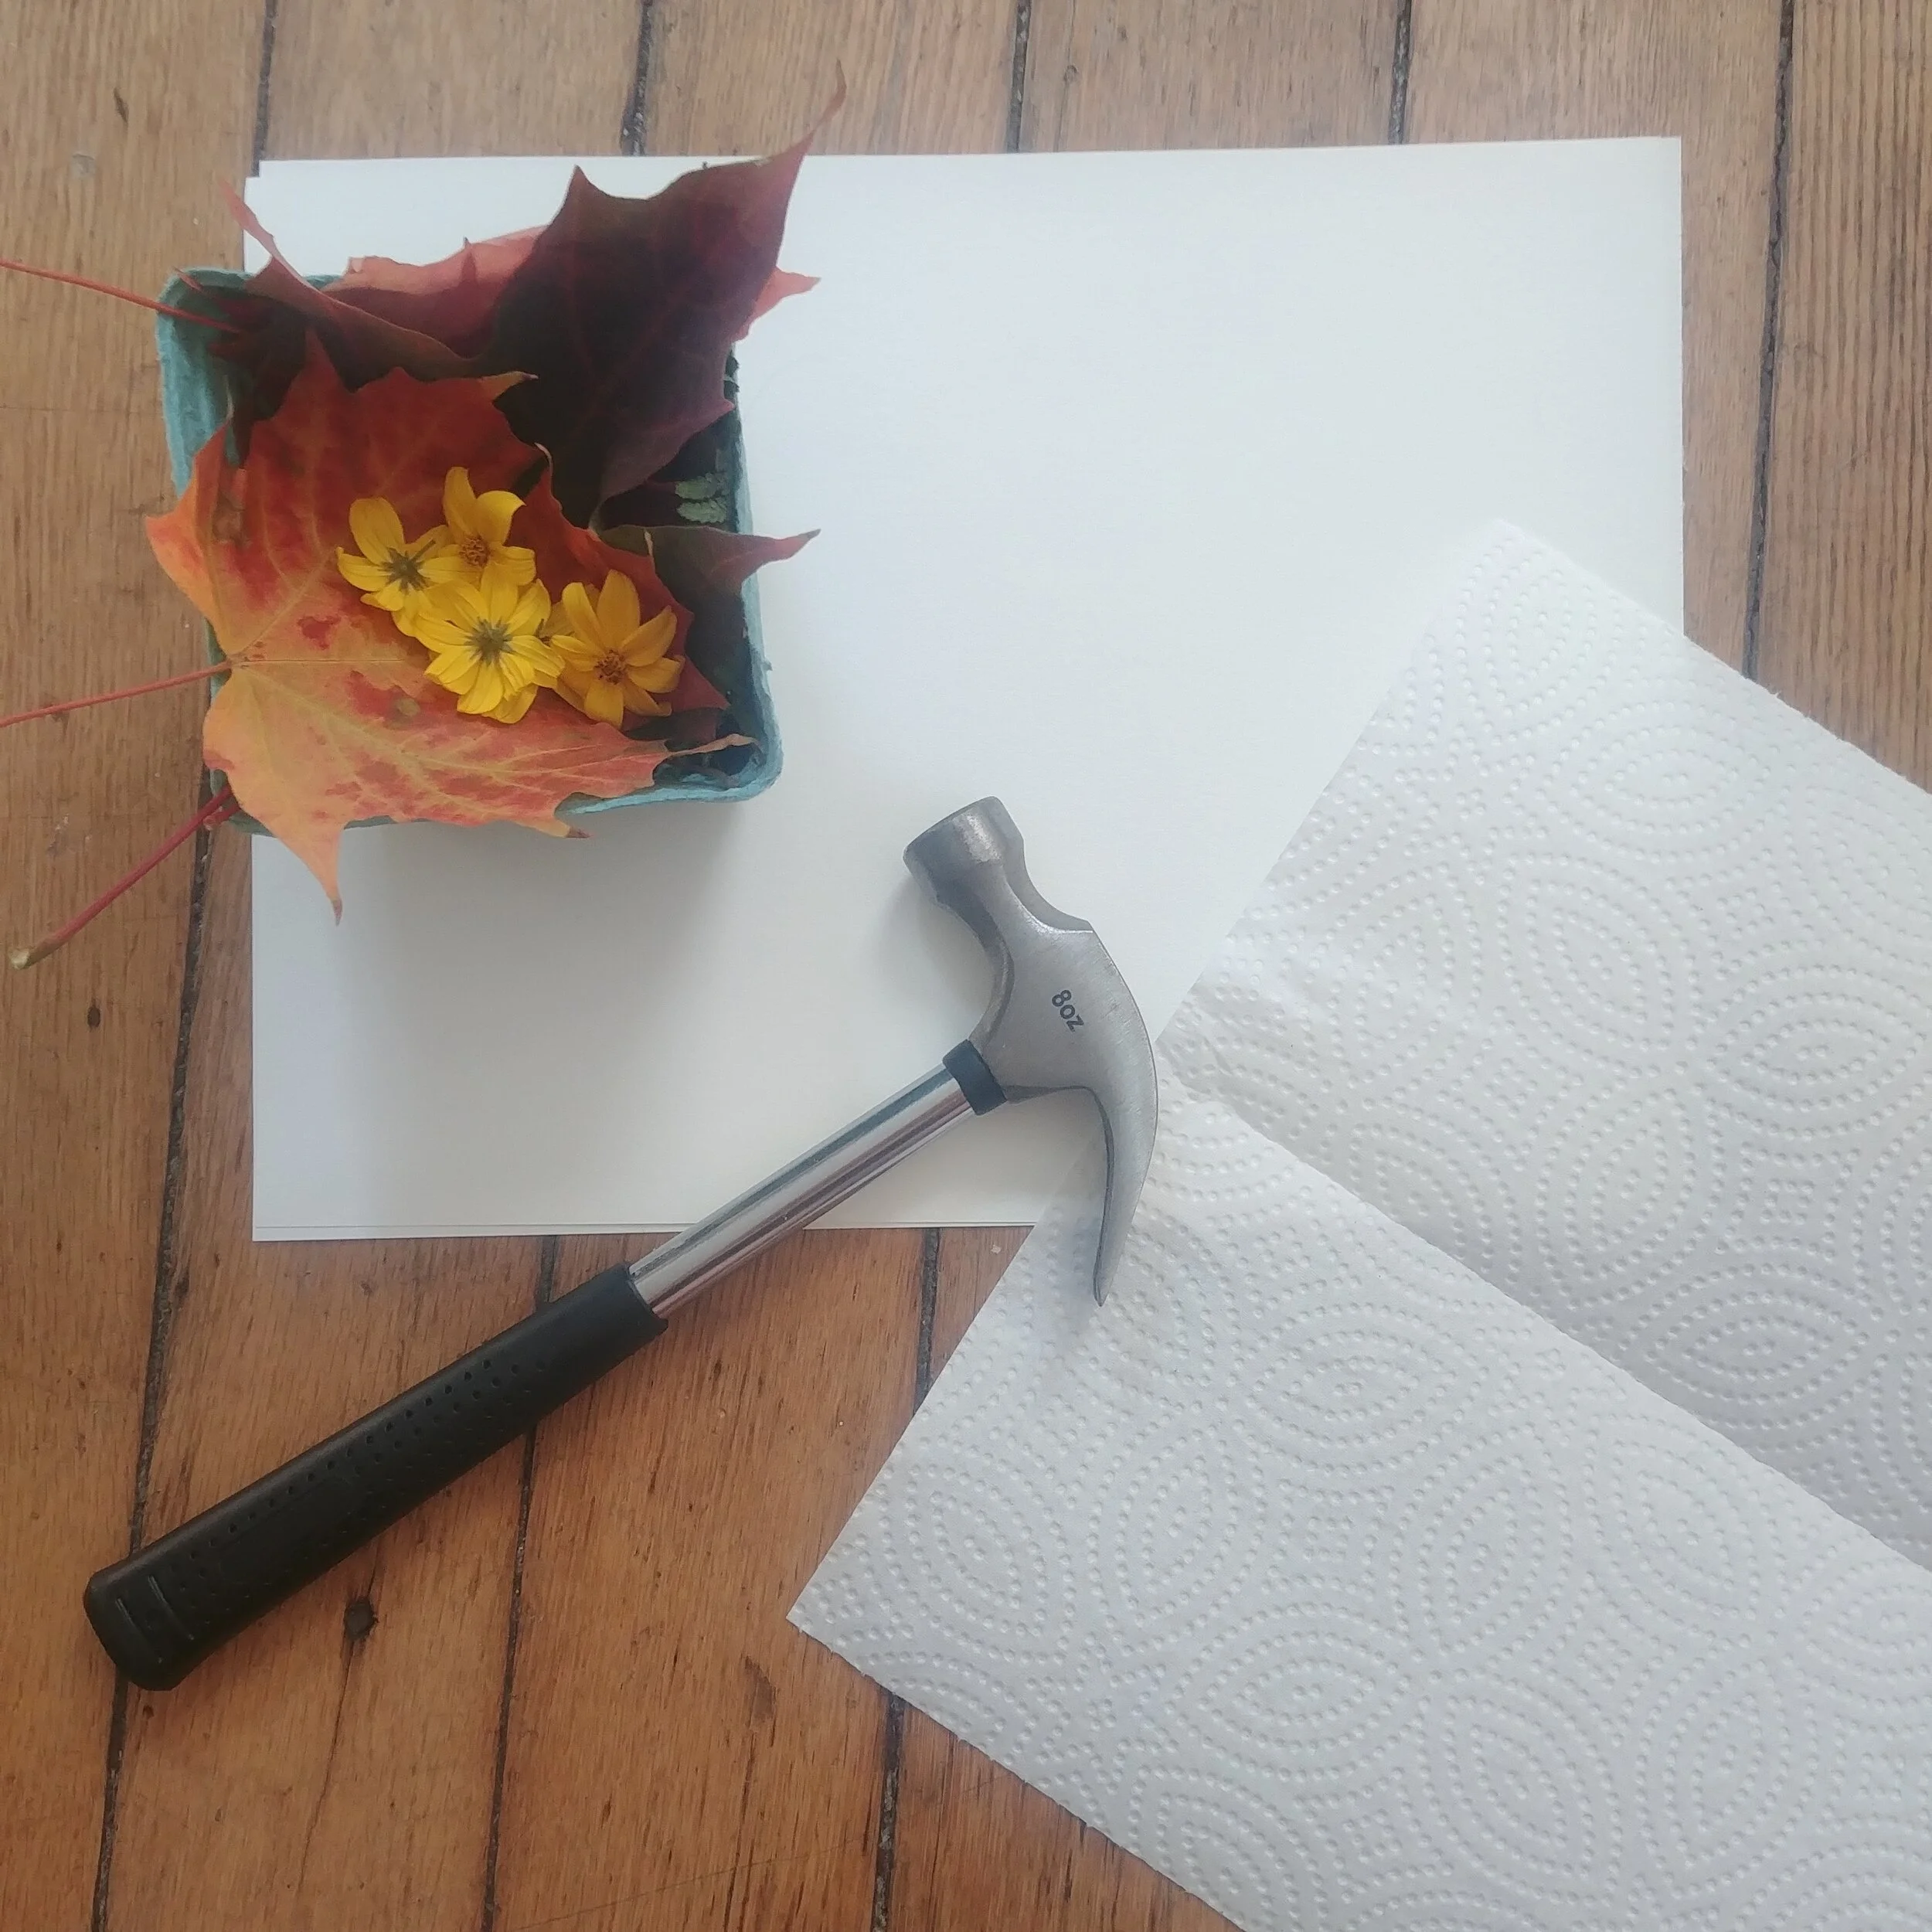
Fall Leaf Pigment Prints
This activity requires use of a hammer, so make sure you have adult permission and supervision before trying it.
Materials:
Leaves (ones that have recently fallen or picked from a tree, you don’t want them to be dried out), flowers, and other plant material
Hammer (any kind of hammer will work, but I’ve found that a ball-peen hammer is best for this activity)
Heavy paper, like sketching or watercolor paper
Paper towel
Clear acrylic spray or mod podge (optional)
Instructions:
1. Lay out your leaves and other plant materials on your paper in a design that you like.
2. Gently place the paper towel over the leaves and flowers, being careful not to move your design.
3. Using the hammer, tap the leaves and flowers to pull out their pigments. Light hits will be enough to do this. You’ll know you’re using enough pressure when you see the pigments start to stain the paper towel. You can also check your progress by carefully lifting the paper towel to see the paper.
4. When you’re done hitting the leaves, remove the paper towel. Some plant matter may stick to your paper. Remove any clinging flowers or leaves, and admire your naturally pigmented art! To help preserve the colors, you can use clear acrylic spray or mod podge to seal in your print.
Some plant matter will release their pigments better than others—experiment with different leaves and flowers to see which give the best colors!