Follow-Up to #Hubble30: Additional Resources
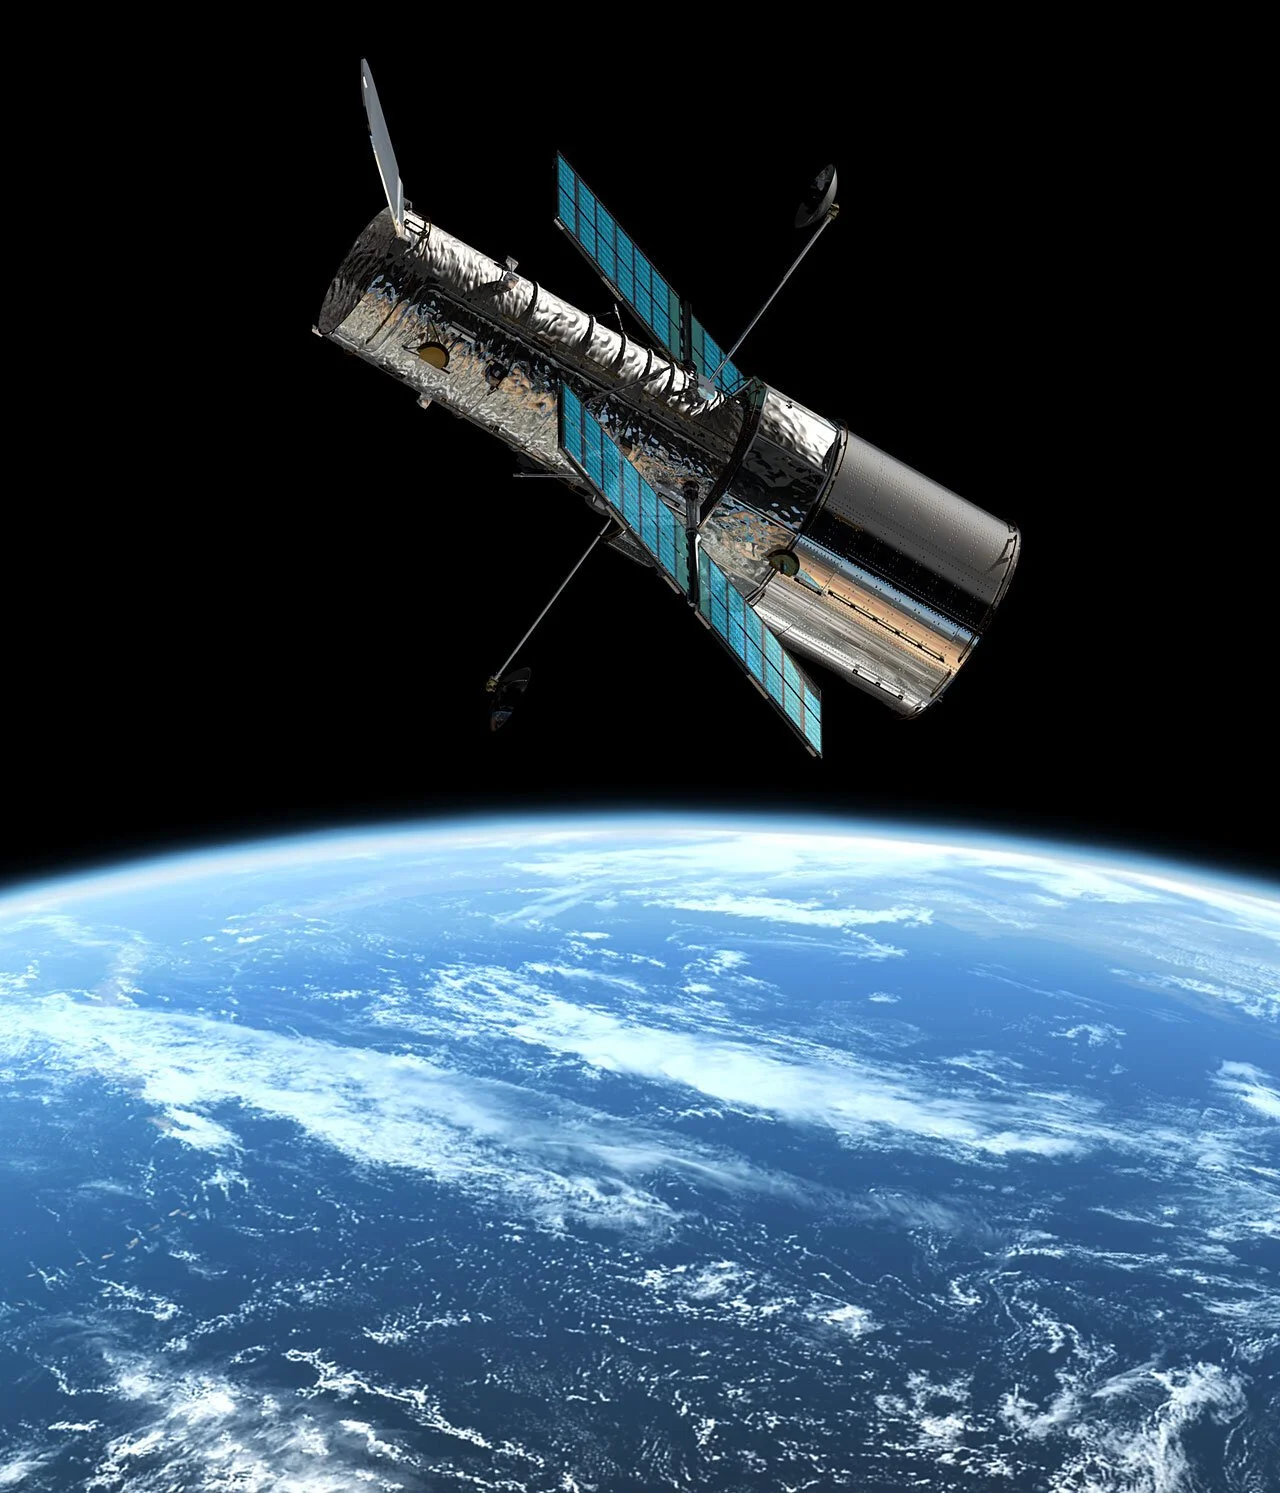
Thanks to everyone who joined us for our very first Facebook Live event, in celebration of the Hubble Space Telescope’s 30th birthday! Faithe and Sarah had a blast presenting on live video feed about the history and significance of the Hubble Space Telescope. (Hubble launched from the Kennedy Space Center on the shuttle Discovery on April 24, 1990.)
In this post, we share additional Hubble resources, to keep the learning coming all weekend. In particular, there are plenty of opportunities to dive deeper into the Cosmic Reef—which we are able to visit via the special Hubble image “Tapestry of Blazing Starbirth” that was publicly revealed for the first time on April 24, 2020.
In Case You Missed It: Recordings of MSDC’s Facebook Live Presentations
Click these links to open the presentations directly on our Facebook page.
Part 1: Faithe introduces the #Hubble30 event, the significance of Hubble to scientific discovery, and the special Cosmic Reef image that was released to the public on 4/24/20 (note: the sideways orientation of the video is resolved very early on!)
Part 2: Sarah discusses 400 years of telescopic technology, three decades of Hubble missions, and next steps for imaging our universe with the James Webb telescope
Part 3: Faithe returns to demonstrate a make-your-own nebula family-friendly craft (instructions to follow later in this blog post) and follow up to some of the topics approached in Part 1
Dive into the Cosmic Reef: Additional Resources for Learning About Hubble’s Special “Birthday” Image

These are live links—simply click to open the sites.
hubblesite.org: official repository of Hubble information and images, administered by the Space Telescope Science Institute
hubblesite’s 30th anniversary landing page: the STSI’s central location for images, information, and events relating #Hubble30
video: panning across the Cosmic Reef in Hubble’s birthday image
video: zoom into the Large Megallanic Cloud, to reach the two nebulae in Hubble’s birthday image
animated visualization: explore the features of the Cosmic Reef in three dimensions, as rendered by scientists and artists
European Space Agency #Hubble30 news release: including detailed information about the Tapestry of Blazing Starbirth image
NASA #Hubble30 news release: including detailed information about the Tapestry of Blazing Starbirth image
explore the special image with the American Astronomical Society
Explore Hubble’s structure, technology, and three decades of history “bringing the universe to us”
NASA’s Hubble webpage: including a multitude of resources, images, videos, activities, engineering specs, mission details, and more
European Space Agency’s Hubble webpage: including a multitude of resources, images, videos, activities, engineering specs, mission details, and more
ESA Hubble fact sheet: including information on Hubble’s design, solar panels, instruments, observation methods, and data collection
Get Hands-On: Celebrate #Hubble30 with a homemade craft
Activity 1: Make a birthday card (or a cake!) for Hubble, and share your work! Post a picture of your finished product to
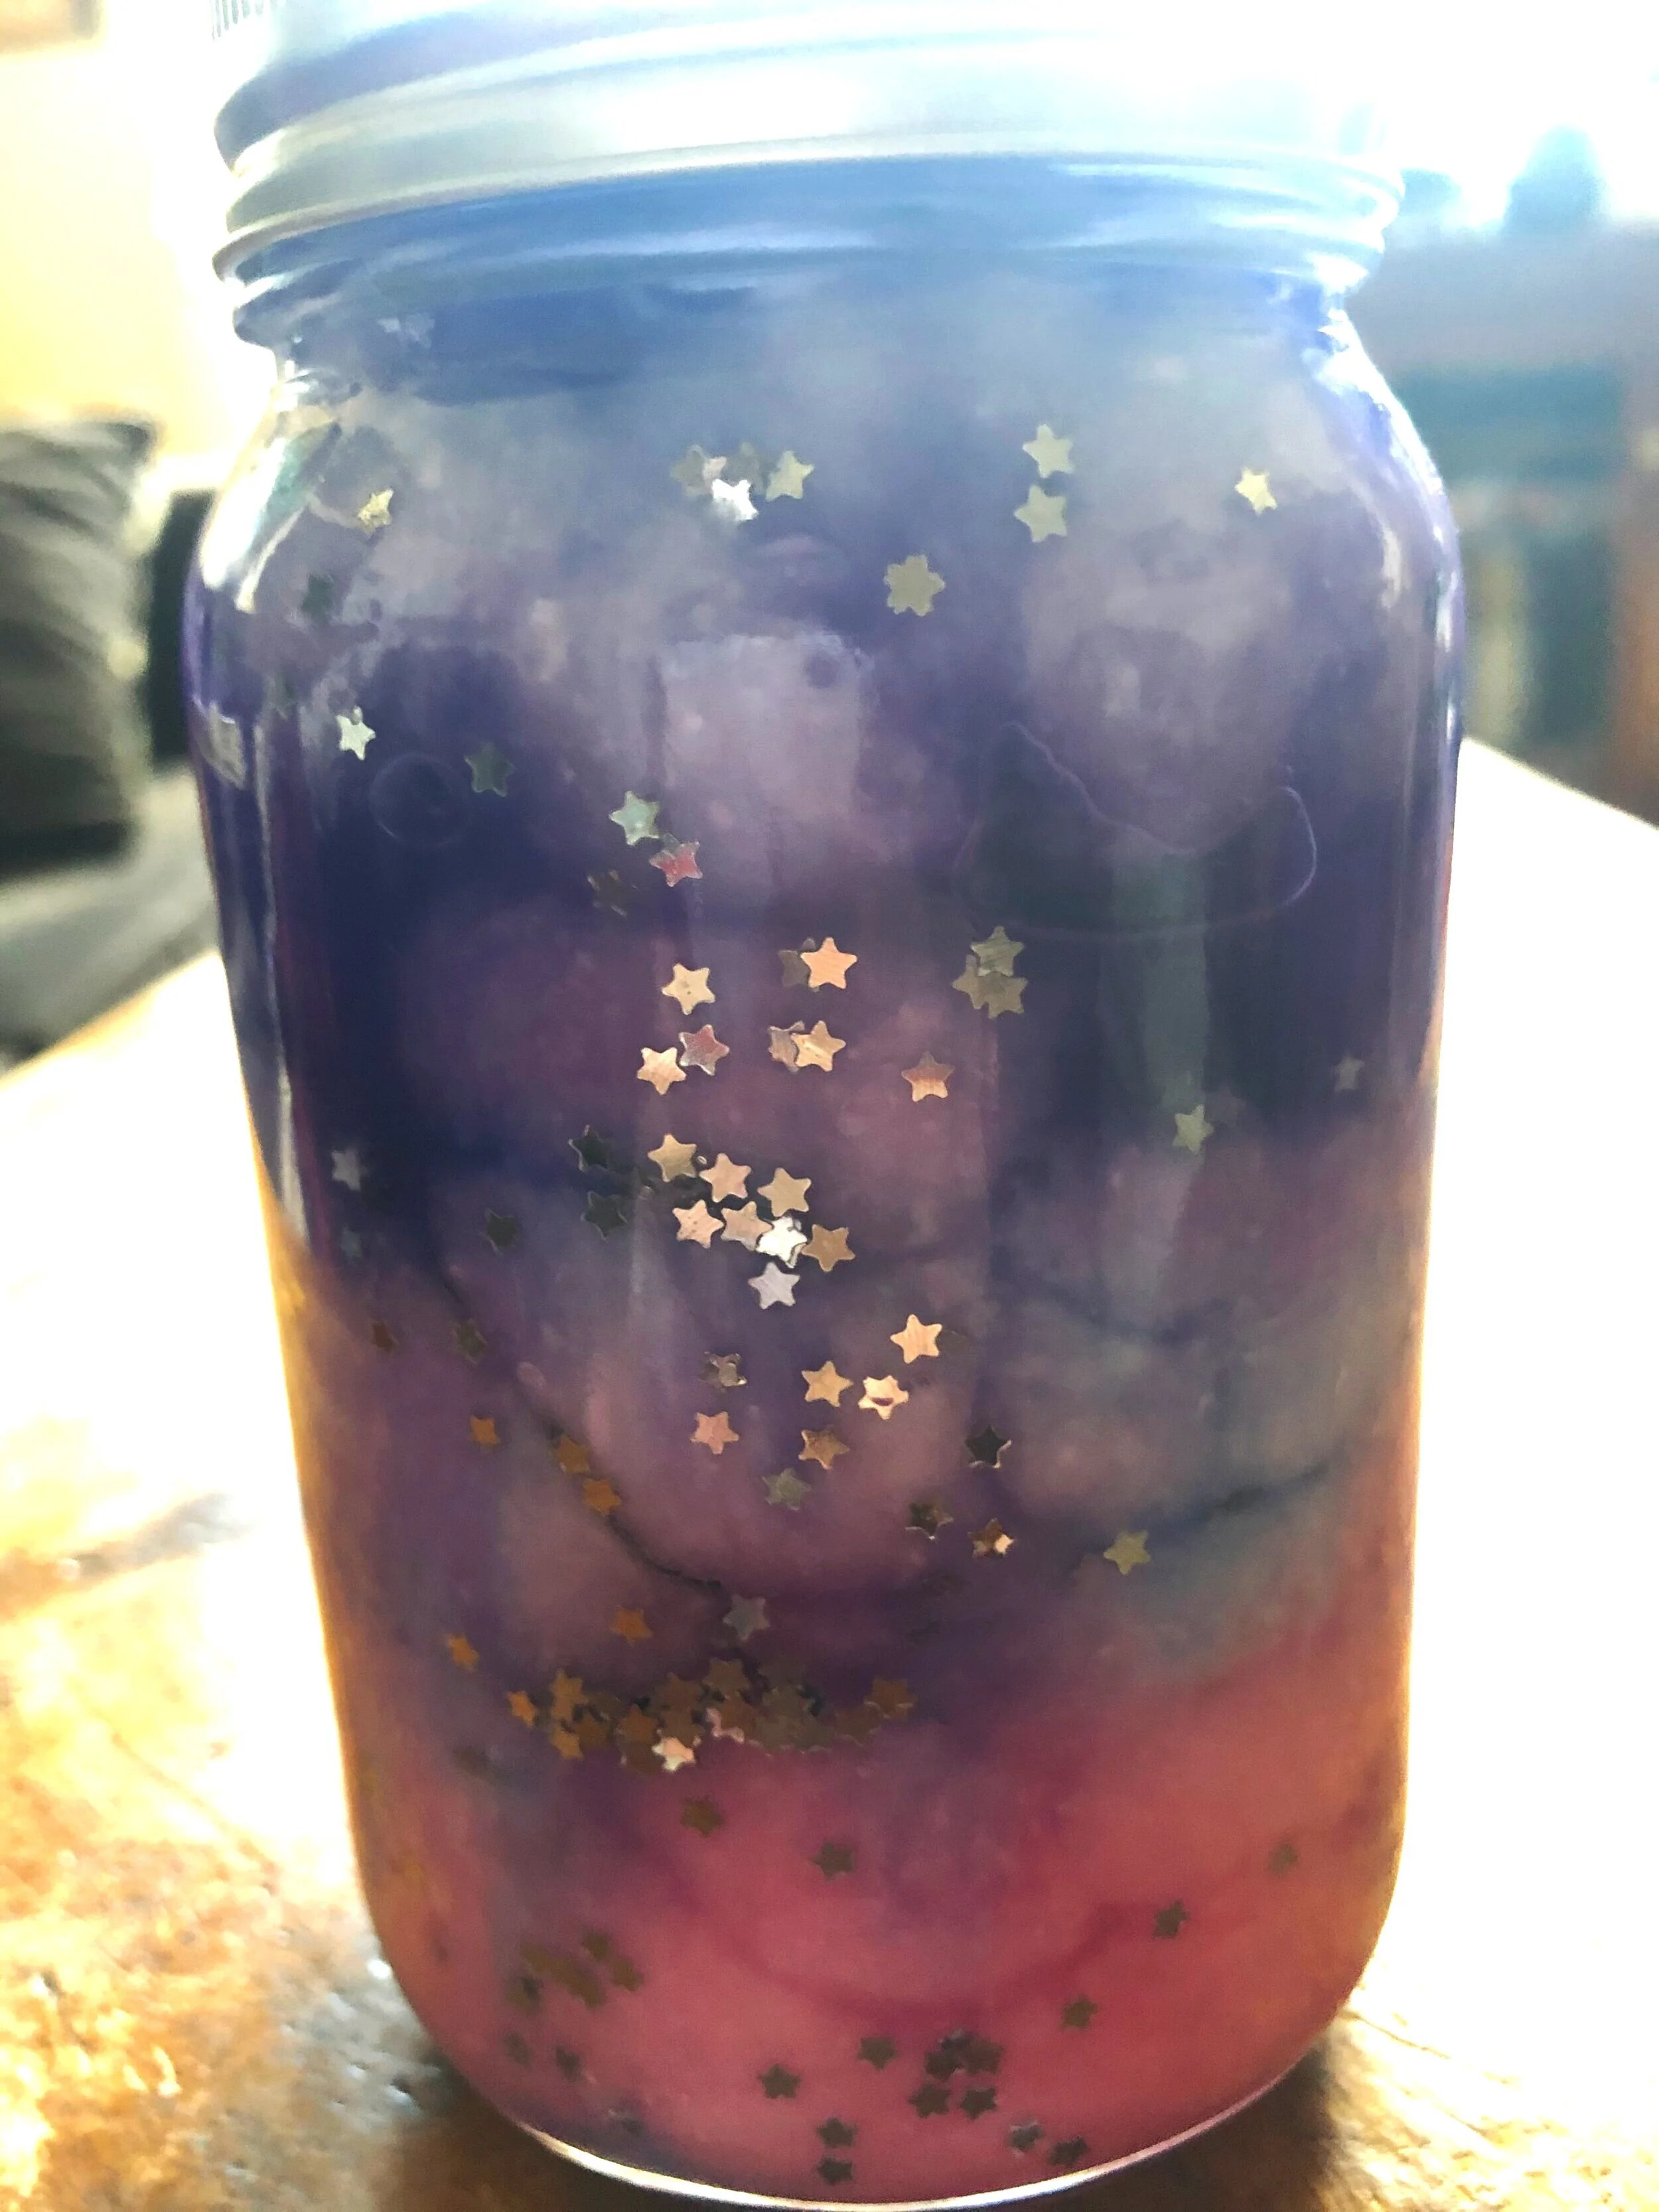
Activity 2: A nebula is a huge cloud of dust and gas in space. We sometimes call nebulae “star nurseries,” because they are the environments where new stars are born.
Make your own nebula-in-a-jar (in honor of the #Hubble30 Cosmic Reef image!) with these simple steps.


Materials
Glass jar with lid (e.g. baby food jar or Mason jar—any size will do)
Water
Tempera paint, multiple colors
Glitter
Cotton balls (each nebula takes about 1/2 a bag)
Procedure
Fill your jar about 1/3 with water (this is for a three-layer/three-color nebula: you can also make more layers, with each layer being slightly smaller, e.g. fill jar 1/4 with water to make a four-layer nebula)
Add some tempera paint to the water and stir to mix (add more paint for more vibrant colors, or less paint for a more muted palette)
Add glitter to the colored water and stir
Pack the water with cotton balls, using a stick or spoon to push them down into the water, if needed. Keep adding cotton until all of your colored water is absorbed. A good tip is to pull your cotton balls to stretch the fibers and give them an elongated appearance, which more closely resembles the diffuse cloud of dust and gas that makes up a real nebula
Repeat this process for each of the remaining two layers: add water, paint (use a different color for each layer), glitter, and cotton balls. If you add sufficient cotton, it will absorb enough of your colored water that you can pour in more clean water on top for the next layer, without too much color “bleeding” upward from the lower layers.