At-home STEM Activities: Kitchen Chemistry (and Biology)—The Science of Bread
There’s nothing like a homemade loaf of bread—the crispy crust, the soft interior, and the bouncy texture—but what is it that makes bread so good? Well, as we’ve learned in our previous installments of Kitchen Chemistry, it’s a hefty dose of science! Today, let’s explore the science of bread!
Yeasted breads comes in all shapes and sizes—from flat naans to fluffy brioches, and from dense bagels to light, airy ciabattas—but all bread types share the same basic ingredients: flour, salt, water, and yeast. From there, additional ingredients can be added, like butter and oil for richness or sugar for sweetness, but let’s talk a little more about how those four basic ingredients build our loaf of bread.
Image via pexels.com
Flour and Water:
Flour forms the main structure of the loaf of bread. In a lot of breads, this is wheat flour. While many grains can be milled into flours, like rye berries, barley, and spelt, wheat flour is the most popular for bread-making because of its high gluten content.
Gluten is a protein structure made up of two smaller proteins that naturally occur in cereal grains like wheat. These smaller proteins, glutenin and gliadin, are called storage proteins because they help hold onto important minerals that the wheat plant needs to grow. Glutenin is water soluble while gliadin is not, so when flour is mixed with water, the glutenin and gliadin combine to form the larger gluten protein. When a flour has a high gluten content, it forms a stronger protein when mixed with water, making a stretchy net-like structure that can capture gases. When the gluten structure holds onto that air, it allows the dough to rise, giving the interior of the loaf of bread it’s soft, chewy texture. Check out this video for a little more information on gluten and to see just how the protein can contain air:
While the gluten structure captures air, where that air comes from brings us to our next ingredient.
Different forms of yeast (from left to right): Active dried yeast, fresh yeast, dried yeast. All do the same thing, but each type has its own pros and cons. Professional bakers usually prefer fresh yeast, considering it to have a superior flavor, while home bakers usually prefer dried or active dried yeast due to the long shelf life. Image via leitesculinaria.com
Yeast
People have been eating some form of bread for thousands of years, and at some point in this doughy history, our ancestors realized if they left their mixture of flour and water out for a little longer before cooking it, the resulting bread had a lighter, airier texture. What caused this change in texture? Yeast!
Yeast is a single-celled microorganism in the fungi family. Yeast loves warm, moist environments and eating carbohydrates, and when it’s in a place like this, it lives a happy life eating and multiplying into more yeast. So bread dough is the perfect place for yeast to thrive.
Baker’s yeast under a microscope. Image via wikimedia.
Like all living things, yeast doesn’t just take in energy—it puts energy out as well. The yeast eats the carbs of the flour (and often a little bit of sugar) and releases carbon dioxide and alcohol, a process called fermentation. The alcohol adds flavor while the carbon dioxide gets caught in that gluten protein structure, creating bubbles and causing the dough to rise. Then, when the dough is baked, it sets the process, locking in the air and creating a light texture inside the bread.
Today, bakers can purchase yeast in the store, but the earliest way of attaining yeast was by catching it in the wild. Spores of the microorganism are all around us, and they’ll multiply in areas that are most comfortable to them (those warm, moist environments we were talking about before). So to catch these wild yeast spores, all you need to do is make a simple dough out of water and flour and wait for the yeast to find it. Wild yeast doesn’t travel alone, though—it usually comes with non-harmful bacteria. The yeast will cause the water-flour mixture to ferment and the bacteria will add a tangy taste to it. This resulting bubbly concoction is what is known as a sourdough starter.
Sourdough starter from when it’s first made to when it’s ready to be used to bake a fresh loaf of bread. Image via King arthur baking company blog.
While yeast is essential for a proper rise in a loaf of bread, we also don’t want the dough to rise too much, which would negatively affect the texture and brings us to our last common ingredient of all breads.
Image via pexels.com/Lorena Martínez
Salt
While you might think salt only affects the flavor of bread, it also affects the texture. The yeast will happily munch on carbohydrates and release carbon dioxide as quickly as it can, but that fast addition of gases into our dough is not necessarily a good thing. A slower rise builds smaller bubbles, which makes a more even texture. Salt helps slow down the yeast’s activity. Plus, salt also helps strengthen the gluten protein structure, allowing it to capture even more air bubbles.
So we can see that these four ingredients all work together to help make a loaf of bread. Some bread recipes don’t call for anything other than these four ingredients, like a classic, French baguette. Other recipes, like the one we’ll make below, call for a few other ingredients. Each of these additional ingredients affects the texture and flavor of the loaf in their own way. Butter and eggs, for instance, show up in recipes for enriched doughs, like challah and panettone. Milk is sometimes used in place of or in addition to water, which creates a softer loaf both in crumb (the inside of the bread) and crust (the outside), like white sandwich bread.
Now that we have a better idea of what each ingredient adds to the recipe, let’s try making our own loaf of bread, in a tasty application of science!
Classic Sandwich Bread
This recipe comes from King Arthur Baking Company. Like all their recipes, it calls for their own brand of flour, which has a higher gluten content than some other flours. If you can’t find King Arthur flour at your local grocery store, make sure you check the gluten content of the flour (King Arthur’s has just under 13%) you use to ensure your bread bakes correctly!
Ingredients:
3 cups King Arthur all-purpose flour, plus extra for dusting
1/2 cup milk (we use oat milk, but any animal- or plant-based milk should work!)
1/2 to 2/3 cup hot water (start with 1/2 cup, and if your dough is too dry and not coming together, add more water)
4 tablespoons melted butter or vegetable oil, plus extra oil to coat bowl and pan
2 tablespoons granulated sugar
1 1/4 teaspoons salt
1 packet active dry yeast dissolved in 1 tablespoon warm water OR 2 teaspoons instant yeast
Instructions:
*Note: As this involves using an oven, make sure you have adult supervision!
1. Activate the active dry yeast by emptying the contents of the packet into a small bowl and combining with 1 tablespoon of warm water. You’ll quickly see the yeast wake up and start multiplying and bubbling. If you don’t see any bubbles, your yeast may have expired and you’ll need new yeast. If you’re using instant yeast, you don’t need to activate it; you can just add it in step 2.
Active dry yeast with no water
Yeast immediately after combined with water
Yeast about 5 seconds after combined with water
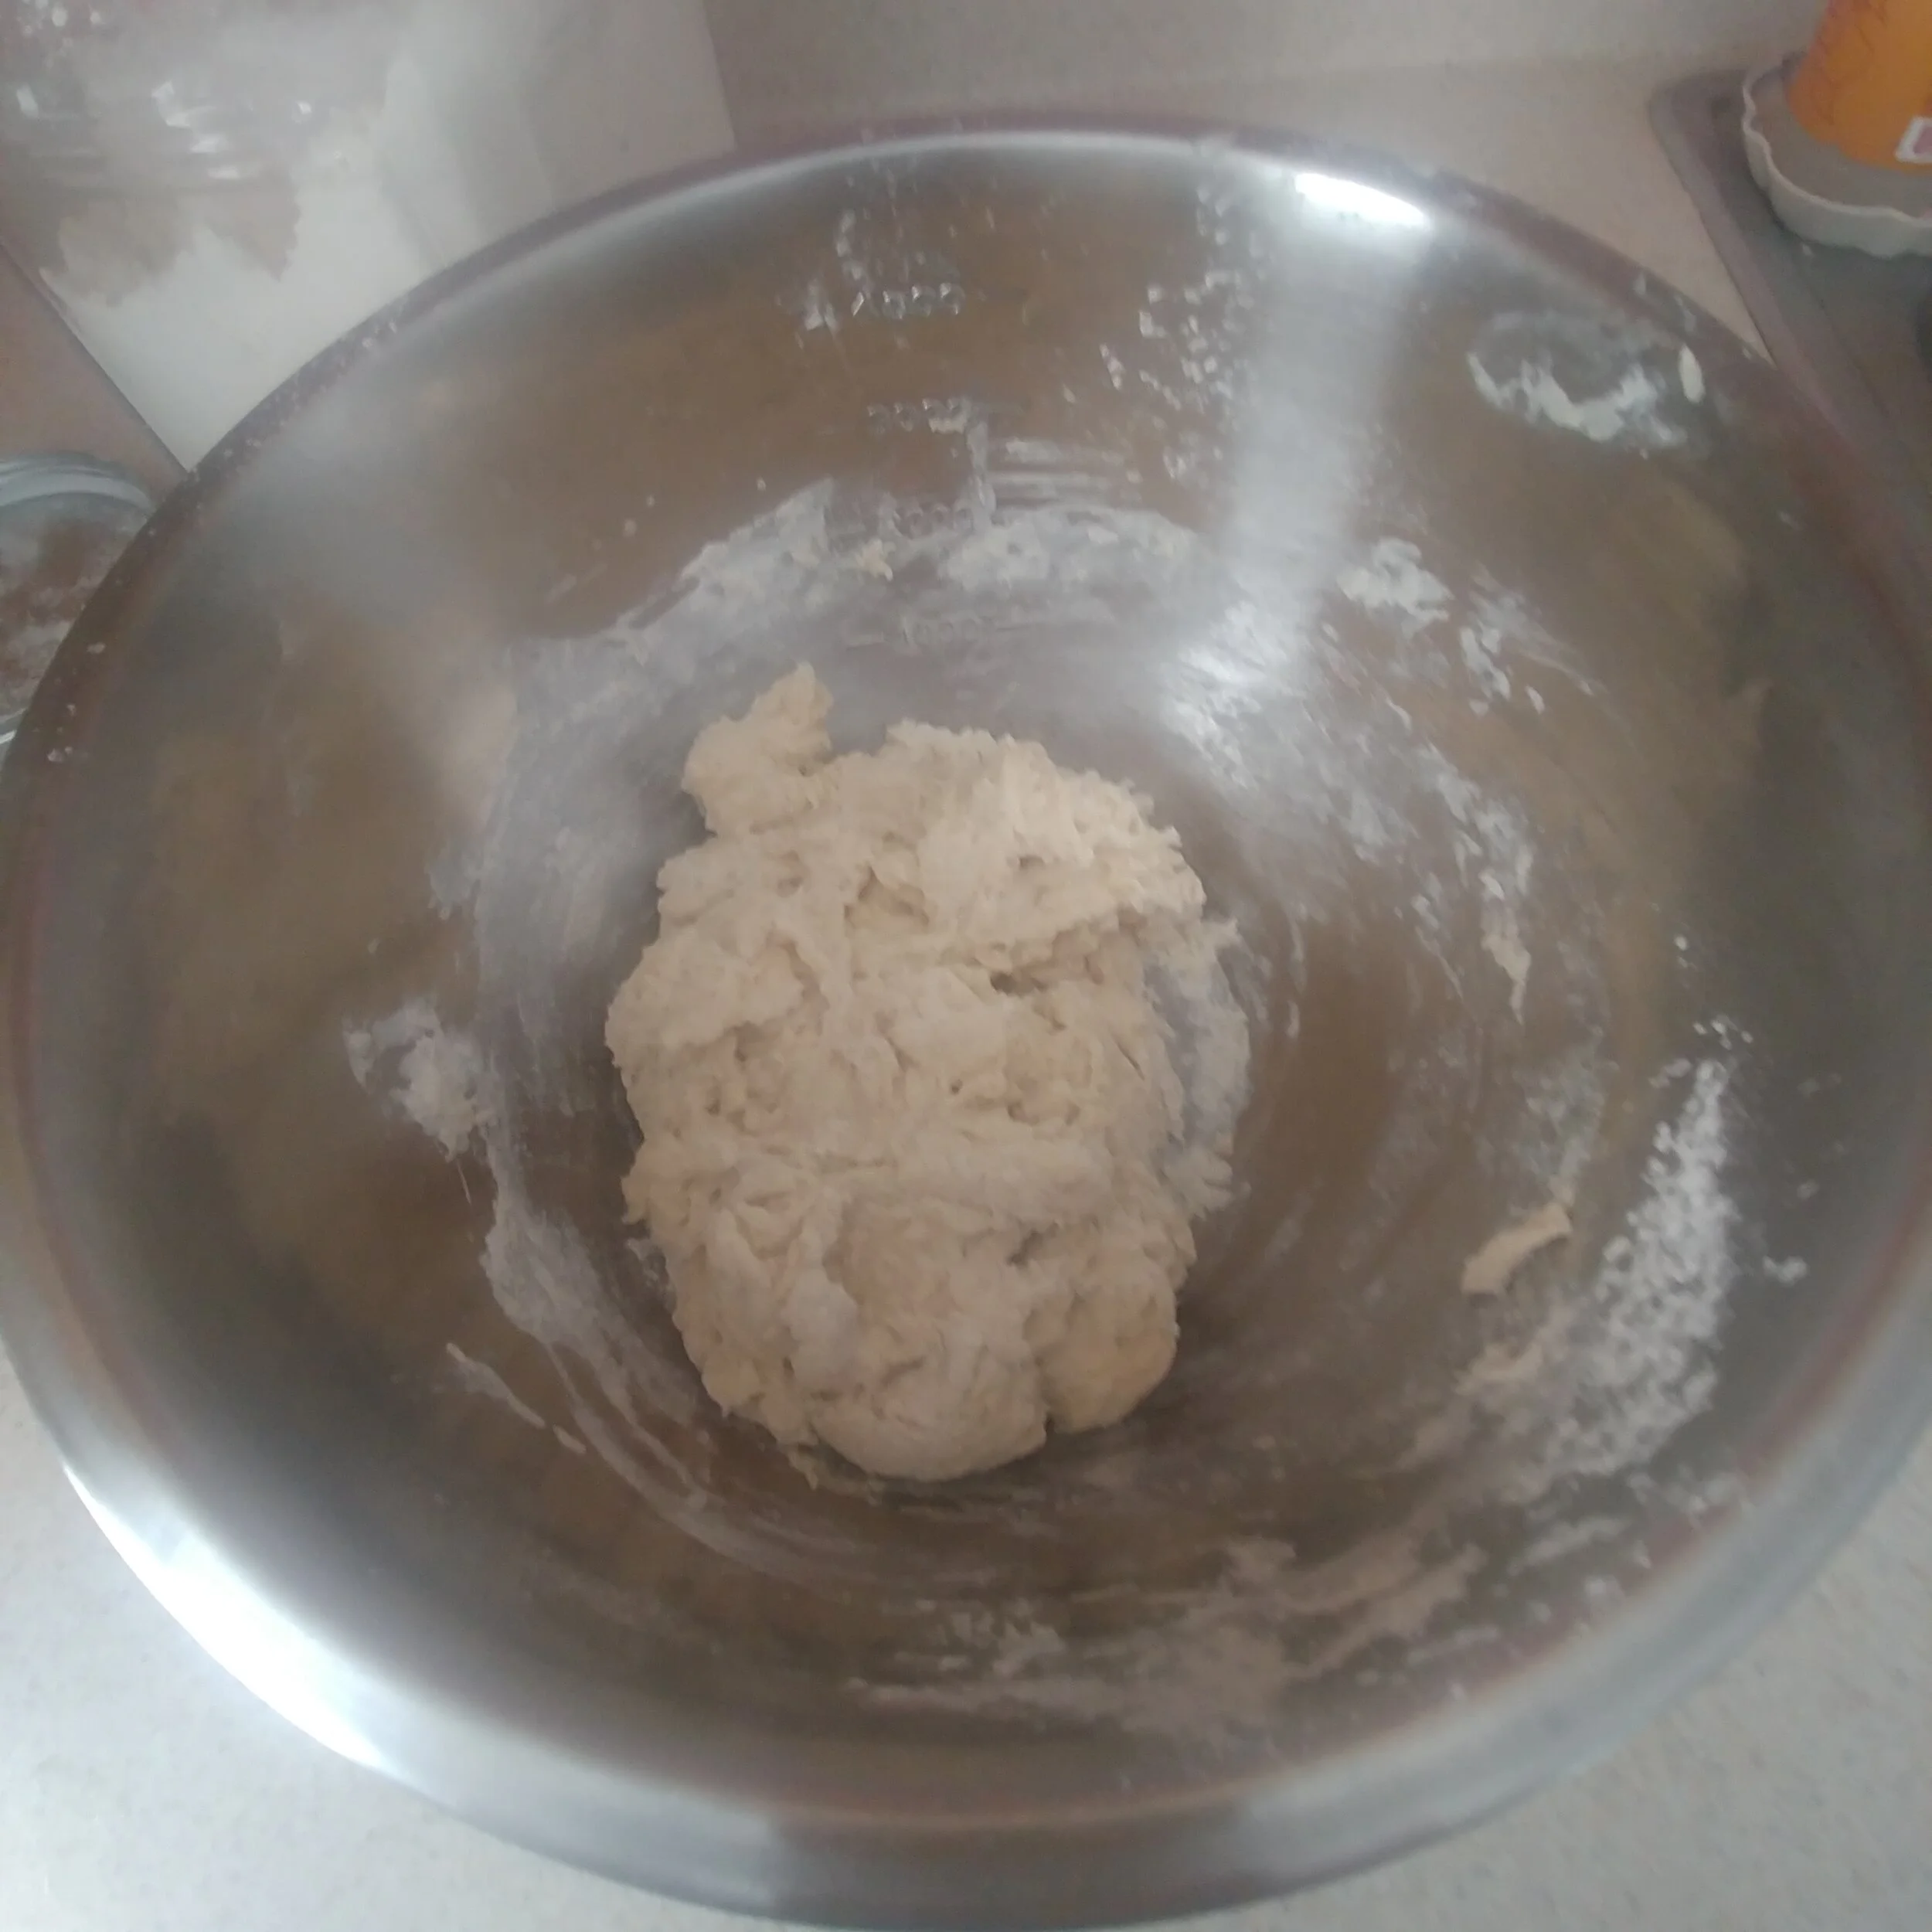
2. In a large bowl, combine the flour, salt, and sugar. Add the milk to the hot water to create a lukewarm liquid, and add the milk, water, butter (or oil), and yeast to the bowl. Stir all the ingredients together (our tool of choice for this is a wooden spoon) until they form a shaggy ball of dough.

3. Transfer the dough to a lightly floured surface, and start kneading it. This process helps build up the gluten, creating a protein structure to capture the air bubbles released by the yeast. Kneading is essentially stretching and folding the dough over itself repeatedly. Follow the images below for a step-by-step guide on how to knead.
Transfer to floured surface…
1. with one hand, hold down the dough. With the heel of the other, push the dough forward, stretching out the ball of dough.
2. Fold the dough back on itself
3. push it into itself, and then repeat steps 1-3 until fully kneaded
How will you know when your dough is fully kneaded? There are a couple ways to test it! You’re looking for a strong, elastic protein structure, and you can check for this using either a poke test or a windowpane test, as shown below.
Poke test:
If you think you kneaded your dough enough…
If it needs more kneading, your finger will easily poke into the dough and the dimple will stay there
…poke it!
if it has been kneaded enough, you’ll feel the dough push back against your finger and where you poked will spring back up slowly
Windowpane test:
If you think you kneaded your dough enough…
Try to stretch it thin enough to see through. If your dough tears, it needs to be kneaded more.
…pull off a small ball of dough!
If you’ve kneaded your dough enough, you can stretch it thin enough that if you hold it up to a light, the light comes through. If you look closely, you can see the protein structures.
4. Place the dough in a lightly greased bowl, turn the dough over so it’s greased all around, cover the bowl (we prefer a clean tea towel for this), and allow the dough to rise until puffy and nearly doubled in size. This will take about 1 to 2 hours, depending on how warm your kitchen is.
5. After your dough has risen, gently push it down on itself and turn out on a lightly greased surface (although, we usually find that the oil that clings to the dough from the bowl is enough for it to not stick to the counter). Form the dough into an 8” log and place in a lightly greased 8 1/2” x 4 1/2” loaf pan. Cover the pan and allow the dough to rise a second time, about 60 minutes until it’s domed above the edge of the pan. During the last 30 minutes of the dough’s rise, preheat your oven to 350°.
dough before second rise
dough after second rise
6. Bake the bread for 30 to 35 minutes, until it’s a light golden brown. You’ll know the bread is baked through if you carefully remove the loaf from the pan and tap on the bottom; it should sound hollow. When your bread is fully baked, remove from the pan and place on a cooling rack. Allow to cool to room temperature, slice, and enjoy!
This bread is great for sandwiches (as the name implies), dipped in eggs for French toast, or on its own—maybe even as a delightful addition to your Thanksgiving table!